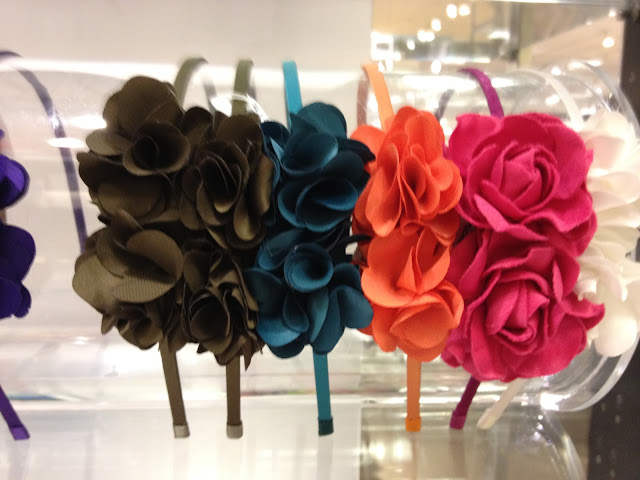
I'm a headband girl. Sometimes it's a headband/ponytail combo (for working out) and sometimes it's just a headband like the one above, something sweet and delicate that adds just the right punch to a simple chambray blouse. Headbands, though, can be expensive though like these exquisite ones from a department store costing $30 and up.
These are beautiful but they weren't just the right Happygirl color for a big event we have coming up so I stopped by our local crafts store (Michael's is a great source) and found the materials to make my own headbands in a variety of colors and textures from silk accordion pleats with flowers to teal and charcoal glitter and red velvet. The best part? No hot glue gun was involved!
Each of these headbands took less than 5 minutes to make.
How to Make Headbands in Less Than Five Minutes
(without glue!)
The key: the glue
When the associate cutting the ribbon asked me what I was planning to do with the material, I told her they were for headbands. She was thrilled because she said her team had just tested out a headband project using:
- hot glue
- double-sided tape
- glue dots
- regular glue
There was one clear winner.
Wondertape, a double sided heat-resistant clear tape that is not susceptible to heat, cold or water won this challenge. The professional crafter said that when you use hot glue on a project like this, the project can crack in cold or melt in heat. The hot glue can also transfer through your material and there's the risk of hot glue burns. You have none of these issues with Wondertape. This is why this project is great for kids and for 'girls night in parties'. (Wine + hot glue guns do not work well together!) She also explained that when you press the ribbon and the headband together that they will fuse and it is permanent.
Here is how to make a headband with Wondertape.
Supplies (all available at craft stores like Michael's)
Metal headbands (for this project I used 1/4 inch)
Assorted ribbon (1/4 - 1/2 inch with. You will need 17 inches per headband. 2 yards = 2 headbands)
Wondertape (1/4 inch)
Ruler
Scissors
(optional) Embellishments
Instructions
1. Clean headband of any tags or tag residue making sure it is clean and dry. Cut ribbon to length.
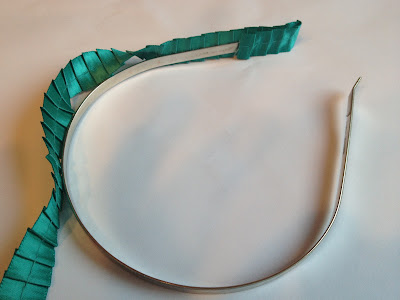
2. Using your ribbon, measure how long the headband is (leaving 1-inch extra at either end to tuck under). Mine were 15 inches plus two inches to tuck under = 17 inches. Start attaching tape to one end of headband leaving a 1-inch 'tail' to wrap on underside. Slowly press tape firmly and evenly onto metal headband until you reach the other end again leaving a 1-inch tail. Cut tape and wrap under so the tape is now adhered under both ends. Press tape firmly against metal.
3. Remove red plastic protective covering on tape revealing the double side of the tape. Be careful not to touch the super sticky tape.
5. (optional) To add embellishments (flowers etc.) use a small drop of glue (like E-6000) and firmly press embellishment to ribboned headband.
That's it! I made all four headbands from scratch in under 20 minutes. The cost for each?
$3.49 (headband)
$1.29 (ribbon)
$1.00 (embellishment)
$5.78!
thanks to Sophie and Trinity for their help!


No comments:
Post a Comment